



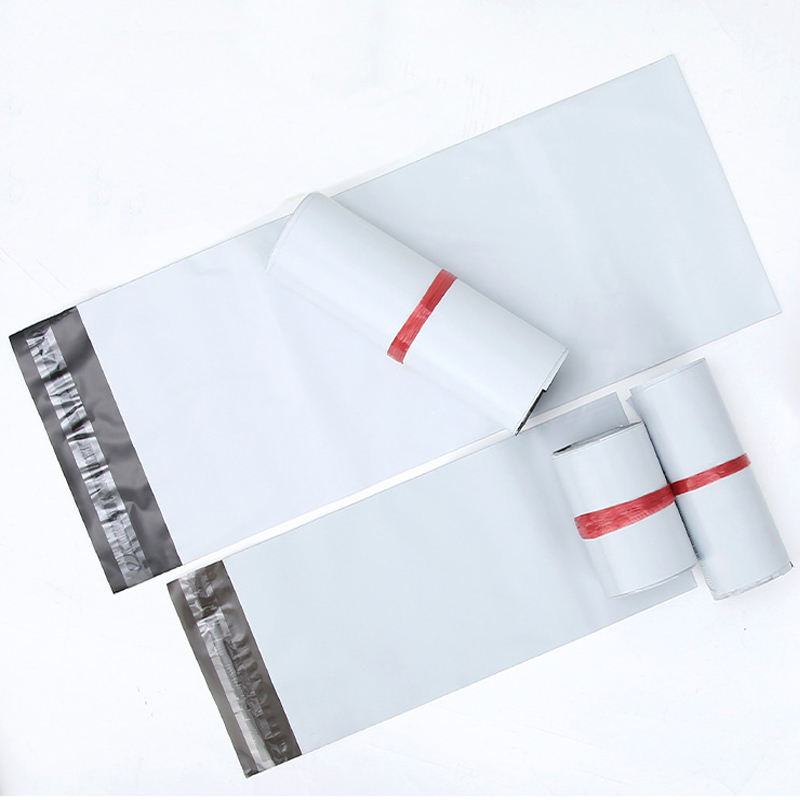
To choose the right poly mailer size, measure the product flat the way it ships, add about 1 inch to the width for thickness and slack and about 1.5 to 2 inches to the length for the bottom seal and flap, then round to the nearest size at or just above those numbers. The right size is the smallest one that holds the product, seals cleanly and survives a drop, because every unnecessary inch of slack is billed as dimensional weight on every parcel.
Here's how mailer dimensions actually work, how to size for the product you ship, and why the difference between the right size and “close enough” shows up on your carrier invoice instead of your packaging invoice.
How poly mailer sizes are measured
A poly mailer is sized width × length, in inches, and the first number is almost always the opening. Width is measured across the mouth of the bag; length is measured from the bottom seal up to the base of the adhesive flap — not including the flap itself.
That last detail trips people up: the labeled length is the usable length, but the flap adds an inch or so of film above it that folds over and seals. So a “9 × 12” mailer is about 9 inches of usable width and 12 inches of usable height, inside an envelope that's physically a bit taller. When you measure your product against a size, measure against the usable dimension, not the outer one.
A size-by-use starting chart
Common mailer sizes and what they tend to fit. Treat this as a starting point — your product's thickness and how it folds shift it by a size in either direction:
- 6 × 9 — jewelry, accessories, phone cases, a single tightly-folded tee.
- 9 × 12 — the apparel default: a folded shirt or two, soft accessories, small flat goods.
- 10 × 13 — multiple garments, a folded hoodie, small soft-good bundles.
- 12 × 15.5 — bulky apparel, sweatshirts, multi-item apparel orders.
- 14.5 × 19 — bedding, multiple-item shipments, larger soft goods, returns.
- 19 × 24 — oversized soft goods, blankets, bulk apparel orders.
How to size for your actual product
Don't size to a catalog chart — size to the product, then find the nearest mailer that fits. The method takes two minutes per SKU:
- Lay the product flat in the orientation it'll ship, folded the way your pack team folds it. Measure its width and length.
- Add about 1 inch to the width for the product's thickness and a little slack — a flat mailer wraps around the product's depth, and a bag that's exactly the flat width is too tight once there's something in it.
- Add about 1.5 to 2 inches to the length for the bottom seal and the flap closure.
- Round to the nearest size at or just above those numbers — not two sizes up “to be safe.” Slack is not protection; it's dimensional weight.
Why “close enough” costs you
An oversized mailer fails in a way that never shows up as a damage complaint, so it never gets fixed: it bills more freight. Carriers charge on dimensional weight as well as actual weight, and a mailer with two inches of empty slack reads as a larger parcel than the product inside it. On volume, that's a recurring five-figure line item hiding in the carrier invoice — we wrote a separate piece on the dim-weight math, but the short version is that every unnecessary inch is taxed on every shipment.
Undersizing fails the other direction: a bag that's too tight stresses the seal, can't close cleanly over the product's depth, and shows every edge through the film. The right size is the smallest one that holds the product, seals cleanly, and survives a drop — which is rarely the size the team grabbed on launch day.
The in-between-size problem
Here's the catch with stock sizing: catalog suppliers run on fixed dies, so they carry the standard jumps — 6×9, 9×12, 10×13 — and skip everything between. When your product wants an 8×10, you're pushed up to a 9×12 you'll pay dim weight on, or down to a 6×9 that's too small. The size you actually need doesn't exist on the shelf.
A supplier that runs its own extrusion and conversion can cut the size you need at any reasonable volume, because the dimension is a line setting, not a stocked die. That's the difference between sizing your packaging to your product and sizing your shipping cost to your supplier's inventory.
If it's going through an autobagger
For an automated line, the labeled size matters less than the consistency of it. A bagger centers on a width and feeds on it bag after bag; a mailer whose width drifts across the roll jams even when every bag passes the spec sheet. So for automated fulfillment, “what size” is really two questions — the dimension, and the width tolerance the film holds at that dimension. Ask your supplier for both.
The two-hour sizing audit
Once a year, pull your top SKUs by volume. Measure each product flat, the way it ships. Compare the right size — product plus slack plus seal — to the mailer you're actually using. Where they don't match, hand the product to your packaging supplier and ask for the smallest mailer that holds it, seals cleanly, and passes a drop test.
Where the answer comes back smaller than what you ship today, you've found freight savings that recur on every parcel — for the price of a new size and a production run. The audit is two hours. The size is forever.
Frequently asked questions
- How are poly mailer sizes measured?
- A poly mailer is sized width by length in inches, with width measured across the opening and length measured from the bottom seal up to the base of the adhesive flap, not including the flap. A 9 × 12 mailer is about 9 inches of usable width and 12 inches of usable height inside an envelope that is physically a bit taller.
- What size poly mailer do I need for a t-shirt?
- A 9 × 12 is the apparel default and fits a folded shirt or two, while a 6 × 9 fits a single tightly-folded tee. Size to the actual product rather than the chart: measure it flat the way it ships, add about 1 inch to the width and 1.5 to 2 inches to the length, and round to the nearest size at or just above those numbers.
- Does an oversized poly mailer cost more to ship?
- Yes. Carriers charge on dimensional weight as well as actual weight, so a mailer with two inches of empty slack reads as a larger parcel than the product inside it, and on volume that becomes a recurring five-figure line item on the carrier invoice.